3.4: Create your own content - Add content, articles and videos
Adding Content
First, please go to 'Open Creator Tool.'
- Content is added as articles. To create articles, go to 'Articles & Videos'.
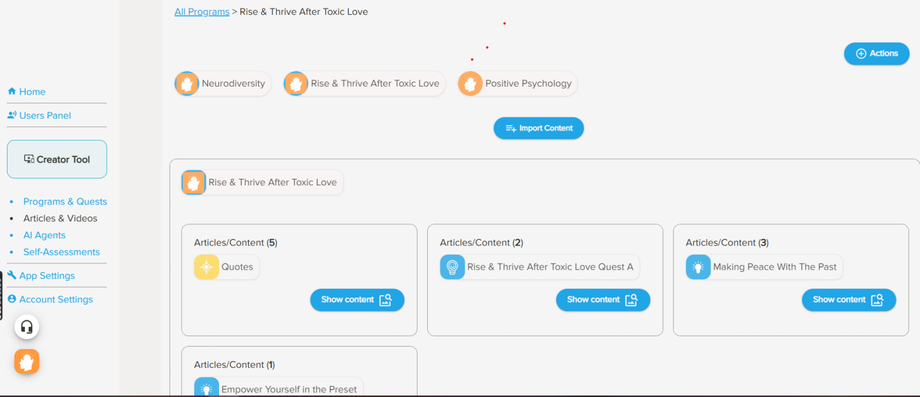
- Then click on the relevant program. You may have already created others. Click on the one you want to add content to. In my case, this is 'Rise & Thrive After Toxic Love'.
- You should then see something like this:
- Now choose which quest you want to add content to.
- I am going to choose 'Making Peace With The Past', so I will click on the 'Show content' button.
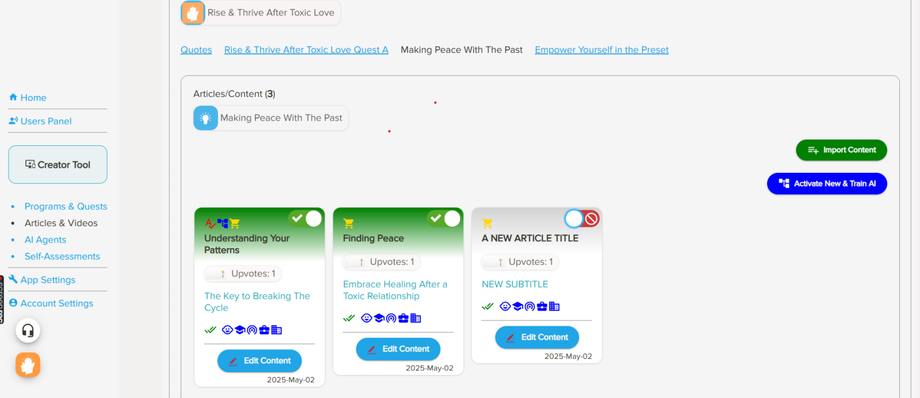
- You will then be presented with a screen like the one below, where you can see that I already have two existing articles made.
- Now please select the green button 'Import Content.'
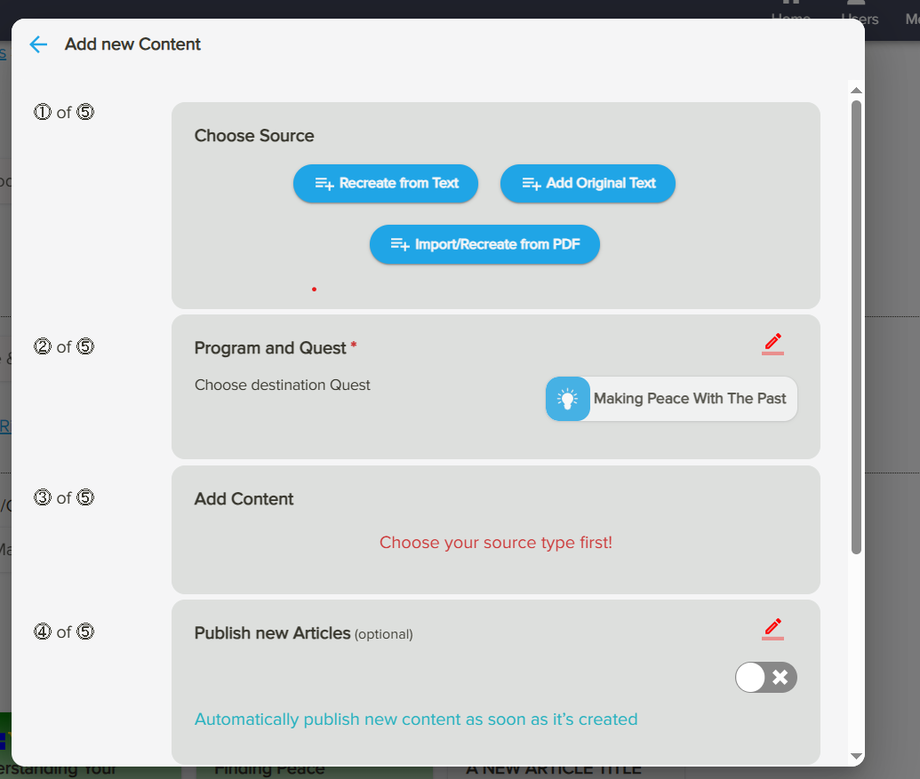
- You will then see this:
You can now choose one of three options:
1. 'Recreate from Text'
3. 'Import/ Recreate from PDF'
This allows you to import an existing PDF document.
Now let's look in more detail at each option.
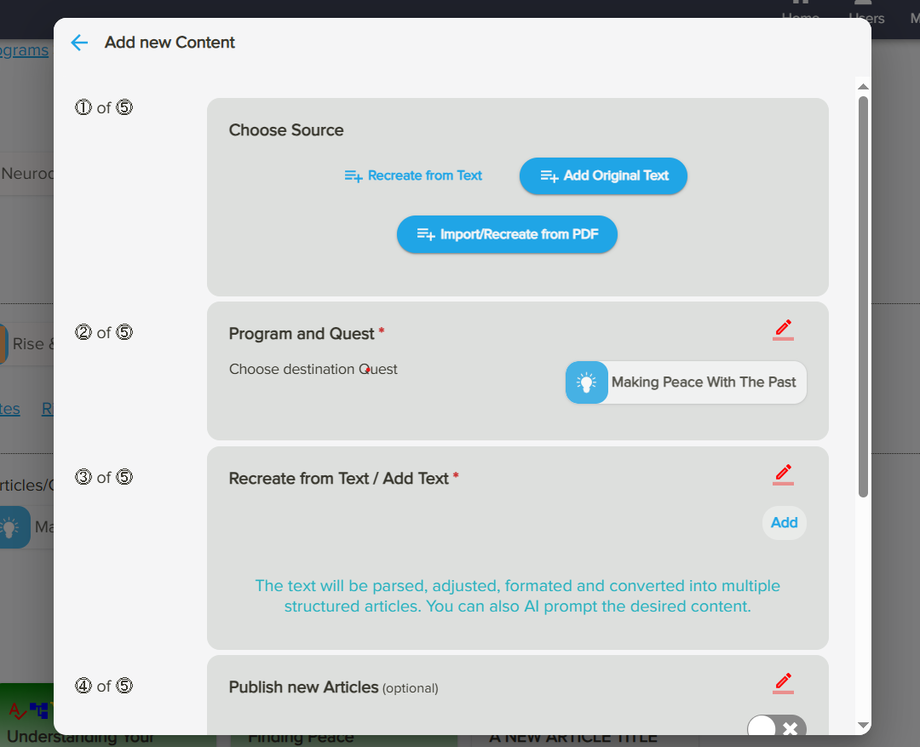
If I choose 1. 'Recreate from Text' , I will then be presented with the following screen:
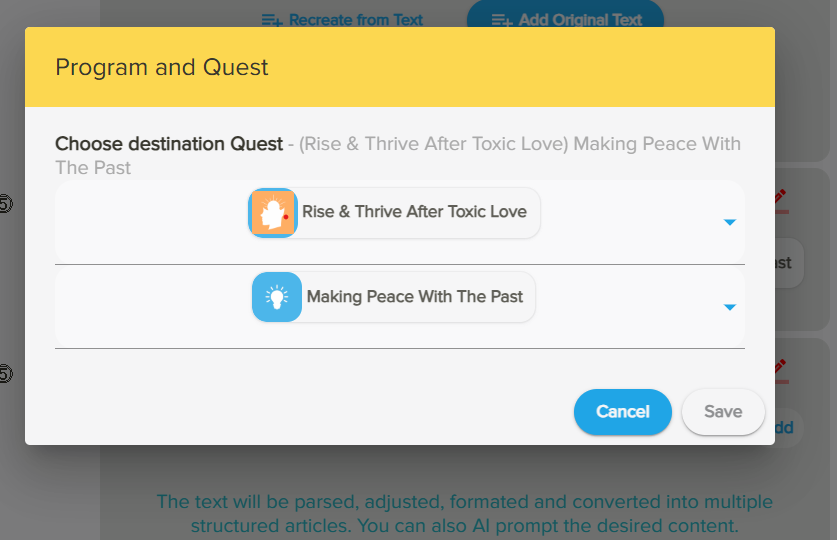
I will go to 'Program and Quest' and click on the red pencil to edit.
The window below will appear and I will choose the correct program and quest for this article to appear in (using the arrow buttons) before clicking 'save'.
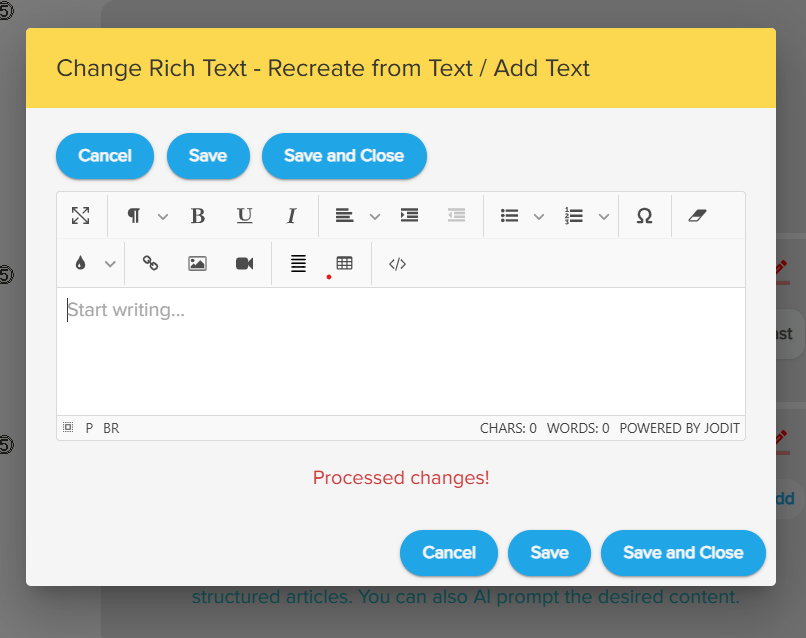
I will then click on the red pencil in the 'Recreate from Text' box.
I will be presented with a box like this, in which I can copy and paste an existing text.
I will then press 'save and close'.
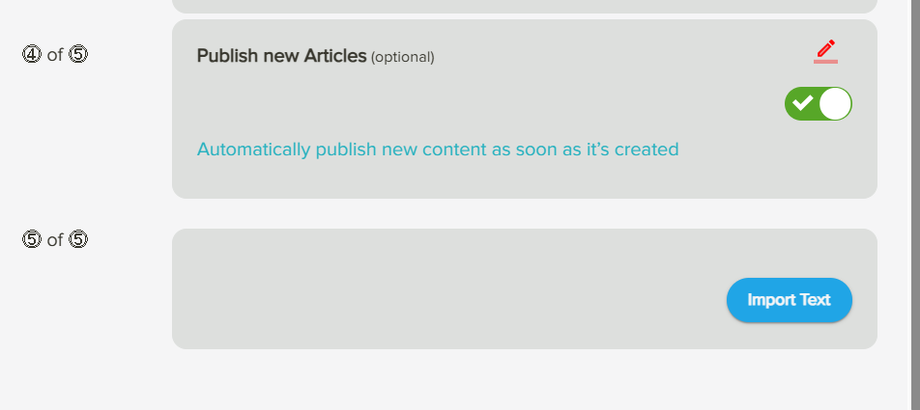
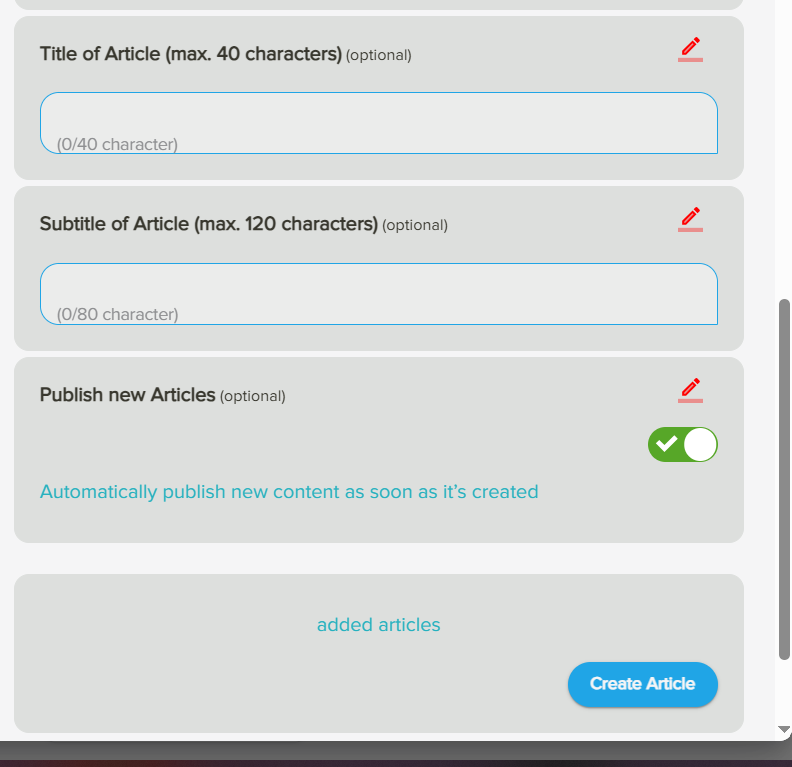
As you can see below, I will then choose whether to publish the new articles right now. I can simply push the slider to the right and see the green button appear. By then clicking on 'Import text', the AI will now work its magic and create the content.
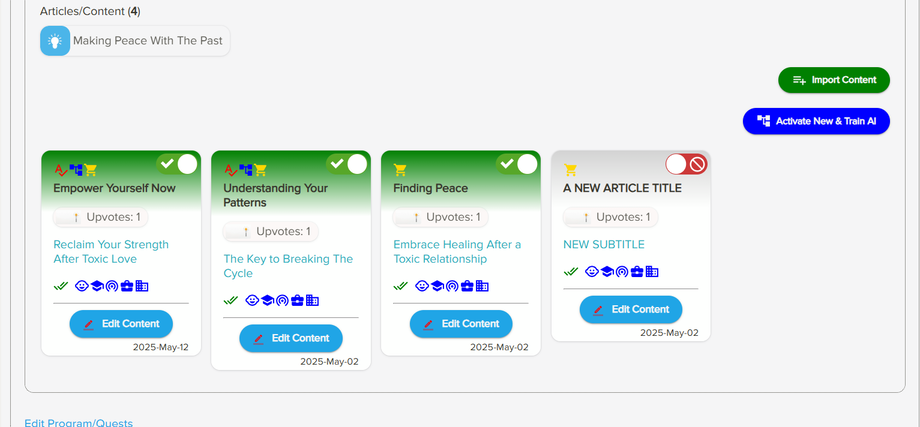
I will be presented with the following screen:
As you can see, my new article 'Empower Yourself Now' has been added.
If I wanted to simply copy and paste existing content without the AI making any changes, I would choose option 2. 'Add Original Text' .
The process would be the same as above, so I would go to 'Choose Source' and select 'Add Original Text'. I would then go to 'Program and Quest', using the red pencil button to edit where my content belongs. I will now click on 'Add Original Text' and paste the text to ne included. I will click on the blue button 'Save and Close'.
In this instance, I will need to give a title and subtitle to my article, which I do by clicking on the red pencil and adding text.
I choose whether to publish the article now using the green slider. When I am ready, I select 'Create Article'.
Editing Content / Editing an Article
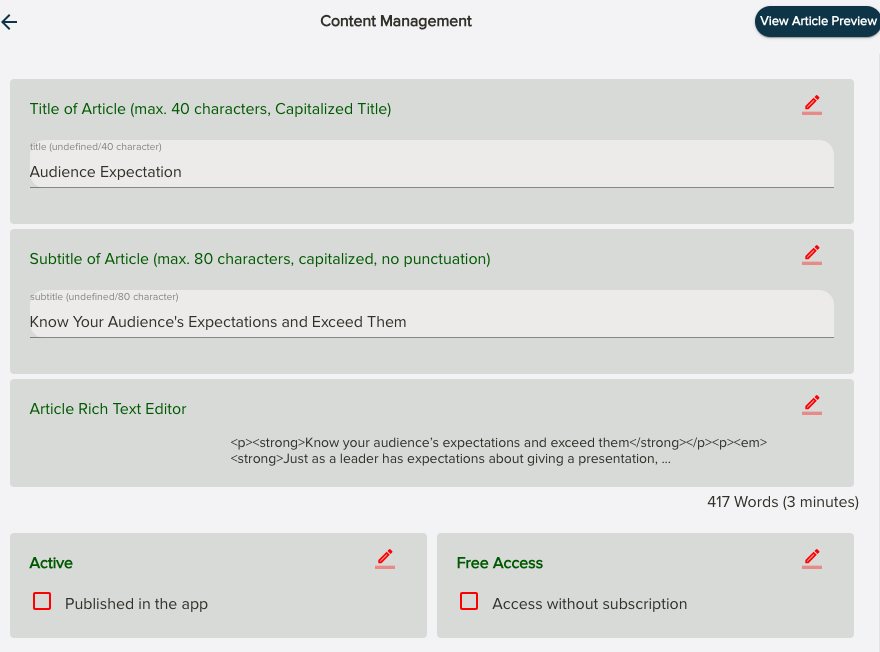
To be published, every article requires a title, a sub-title and and main body text.
| Title |
max. 40 characters, Capitalized Title Make it catchy with a few words. |
| Subtitle |
max. 80 characters, capitalized, no punctuation Describe what is covered in the article. |
| Article Rich Text Editor |
Add a text to the conversation. This text will be used by the AI to index the article with AI and to create key summaries. |
| Published in the app |
Make the article available to your audience |
| Access without subscription |
Make the article fully readable also for users who do not have a subscription but are testing the app |
Images, Audio and Video
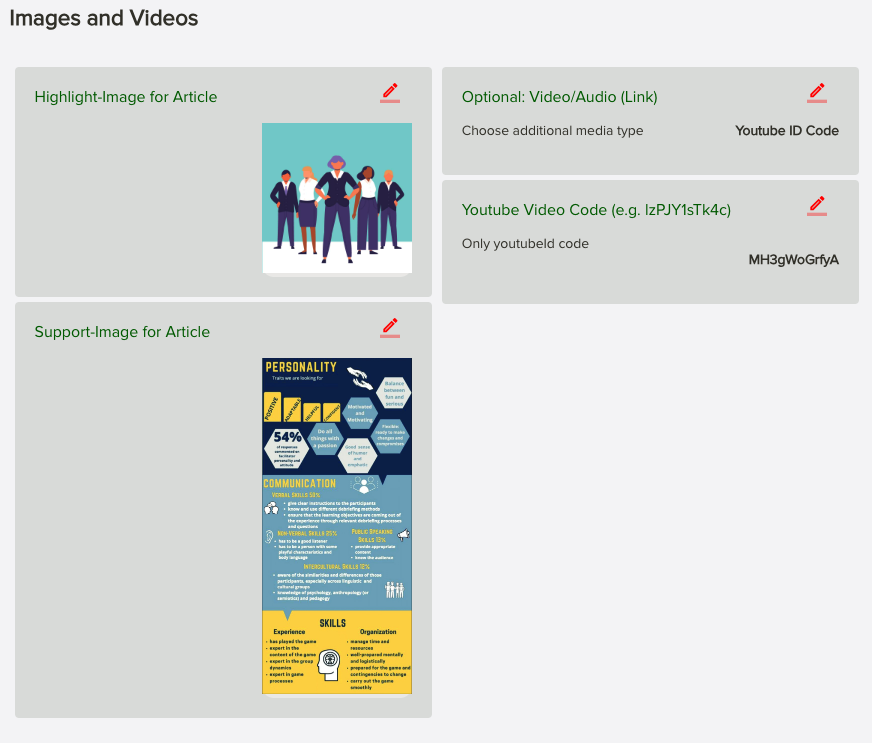
While images are uploaded and stored locally, you cannot upload videos directly. Instead you link them from your video service providers as Youtube, Vimeo or AWS for example.
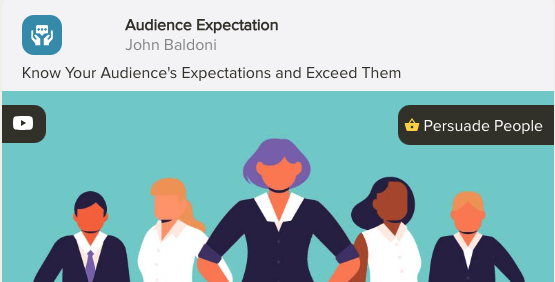
| Highlight-Image |
This image is used to highlight the article Min. 600px width, JPG or GIF, max. 700kb It's recommended to not to add text as this image is rather a visual.
|
|
| Support-Image for Article |
This can be any informative image with text as for example a Infographic. Min. 600px width, JPG or GIF, max. 700kb
|
|
| Video or Audio |
Add the link to your video
|
|
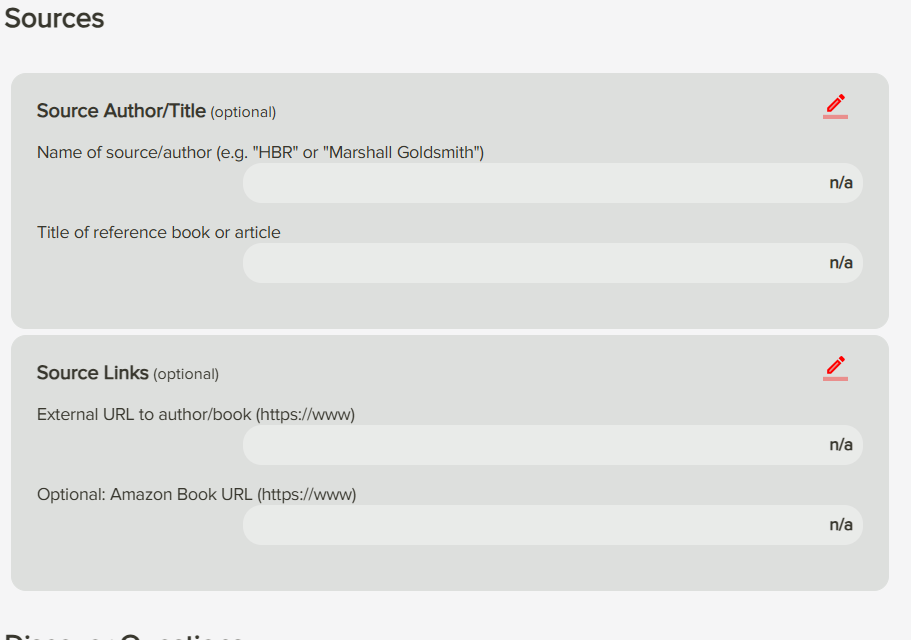
As you scroll down, you will see the following:
Here you can attribute the source of your content, including Chat GPT where necessary.


